A few months ago my parents and I went to Kang Ho-dong Baekjeong for the first time. While I thought the food was just okay, the one dish that I got HOOKED on was their dongchimi. Dongchimi is a variety of kimchi with Korean radish, napa cabbage, scallions, pickled green chilli, ginger, Korean pear in a watery brine. I had never eaten it before and we actually had no idea what the bowl was filled with. The restaurant uses one of those slushy machines to keep their dongchimi cold with crushed ice swirling around in it. I took a sip of the cold broth and was surprised at all the flavor. Tart, slightly sweet, with the faint aromatics of Asian pear. Very refreshing and a perfect side to drink with the fatty meats. The tartness cuts right through all that fat so you don’t feel gross after the KBBQ.
After our meal, I did some research on how to make dongchimi at home and figured it was too much work to make, so I went to HMart to try and find some in the kimchi section. The only jar I could find was GINORMOUS and when I looked at the ingredients, it didn’t list the Asian pear. The fruitiness of the pear was actually one of my favorite flavor notes in the water kimchi at KHB. I asked one of the nice ladies at HMart about the difficulty of making dongchimi and her response was, “Easy! Easy!”. After perusing through some recipes online, I gathered my ingredients at HMart and went home to start on my dongchimi quest.

I got a GIANT daikon radish from Milk & Eggs so I decided to use that instead of the suggested Korean radish.
A lot of the recipes suggest to cut the radish in sticks but I prefer this fan shape for my pickles.

There are various recipes that suggest pureeing the onion and Asian pear mixture but I opted to leave them as chunks. 

I sliced the ginger and left the garlic cloves and Thai chilis whole. I also cut the green onions to about 2″ in length.

I put all my ingredients in a large plastic container (I think glass would be better but this is all I had) and left it on my countertop for 2 days to ferment.
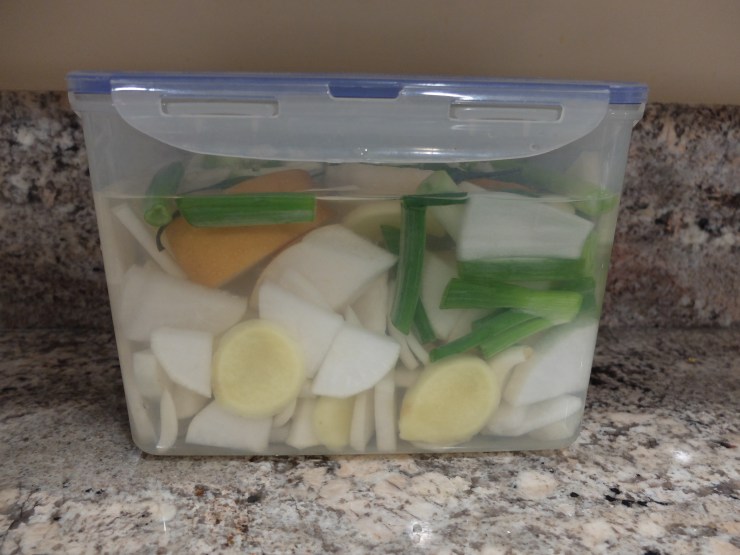
One of the recipes I found said to just ferment for 1 day but I felt that it hadn’t fermented enough. Here’s what it looked like after Day 1:

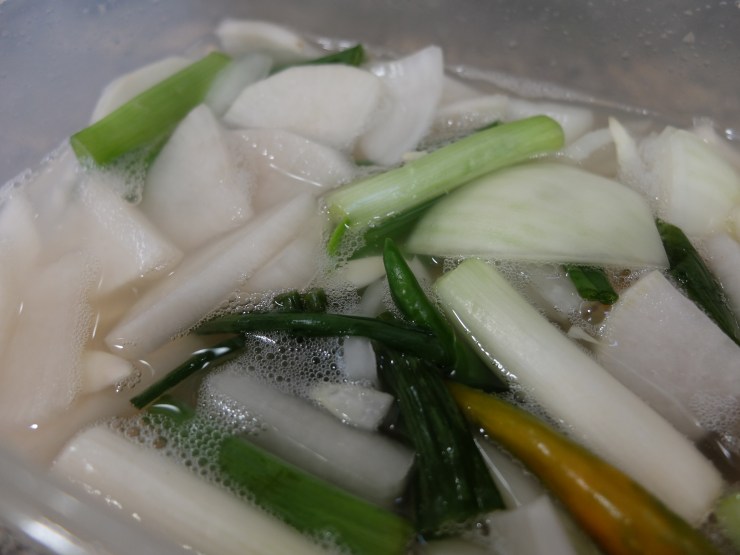
After Day 2, I saw the bubbles that I was looking for- evidence that the fermentation process has begun!

After Day 2, I put the dongchimi in the refrigerator to ferment for a little over 2 weeks. After 2 weeks, this is what the final product looked like:

The liquid had evaporated a little bit and the daikon radish was now translucent. I spooned out a bit of the liquid and some radish and had a taste. SUCCESS!! This dongchimi tastes even BETTER than the one I had at KHB. I feel like it could use a little bit more Asian pear taste so I may eventually add some Asian pear juice to it. Tart, subtly sweet and savory with notes of garlic. Mmm! This was my first fermented pickling experience at home but I think I’ll be doing a lot more of it going forward. I know there are plenty of health benefits to fermented foods, so I feel this is a great way to get my probiotic fix. I can’t wait to eat my dongchimi with some yakiniku at home!

Recipe
- 1 kg of Radish sliced into fans
- 3 Green Onions sliced into 2″ pieces
- 9 Cloves of Garlic peeled and left whole
- 1/2 Onion cut into chunks
- A little more than 1/2 an Asian Pear cut into same size chunks as onion
- 3 Thai Chilis
- 1 inch Ginger peeled and sliced into coins
- 1 tsp of sugar
- 3 Tbsp of salt
- 5 cups of filtered water
Put sliced radish fans in a bowl and add salt. Lightly mix the radish with the salt and let sit for about 35 minutes. After 35 minutes, drain the water from the radish and add the radish and the rest of the vegetables and Asian pear to a large sealable container. I recommend glass but plastic is also fine. Pour 5 cups of water over the produce and add the sugar. Seal the container and let it sit on your countertop for 1 to 2 days depending on the temperature of kitchen. After fermenting on the countertop, move the container to your refrigerator and let it ferment for at least 2 weeks. Serve just the radish and the broth. **I added the green onion and Thai chili for the photograph, but the other ingredients are not as palatable.
Special thanks to Maangchi and Aeri’s Kitchen for their dongchimi recipes! I based my recipe mostly off of Aeri’s Kitchen but scaled it down for just 1 big radish.

Reblogged this on mamabatesmotel.